Features
Part of Native landscaping: observe your yard before planting
Judging native landscaping timeline: month five: prepare the ground
A month-by-month native landscaping timeline: observation, sourcing lead times, preparing the ground in month five, and judging establishment.
What to take away
- The planting day is the short part of the native landscaping timeline. Observation before and establishment after take longer.
- Native plant supply is not built like annual bedding stock, so order early.
- Aim at your region's planting window and work backwards from it.
- Budget two full growing seasons of establishment, and judge the design after the third growing season.
Months one to three: watch and measure
Track sun, drainage and use before drawing anything. You need at least one wet period and one hot stretch to know where water sits and where the ground bakes. Photograph from fixed points; you will not remember what the north bed looked like in March.
Months 1-3: Observe and File
- Months 1-3Track sun, drainage, use
- Months 1-3Photograph from fixed points
- Months 1-3Submit permits, HOA, utility locate
- LateMissed planting window costs a season
This is also the window for the paperwork that has a queue: ordinance text, HOA submittals, utility locating requirements, and any tree or grading permit. Call 811, the national call-before-you-dig service, so buried lines get marked before anyone puts a shovel in the ground. Ask your city or county planning or building department whether the project needs a tree-removal or grading permit, and pull the application early. Under an HOA, the architectural review committee usually wants a site plan and a plant list on its own form before work begins. None of it is fast, and all of it is cheap to do early. Done late, the delay itself carries the cost, because a missed planting window is a season.
Months three to five: design and order
Write a plant list with scientific names, mature sizes and quantities before calling anyone. Then find out what is actually available, because native supply runs on longer cycles than nursery annuals.
Native Supply Runs Slow
10-20 years
Average time to develop a wild-collected species into commercial plant material
Order early, accept smaller containers
Approve substitutions yourself
The Bureau of Land Management's account of native seed and plant material development is blunt about the scale: developing a wild-collected species into a consistent, commercially available plant material takes an average of 10 to 20 years. That is the industry your local grower buys from, which is why a specific species can simply be unavailable this year.
Practical response: order early, accept a smaller container size to get the right species, and approve substitutions yourself rather than leaving them to the delivery driver.
Month five: prepare the ground
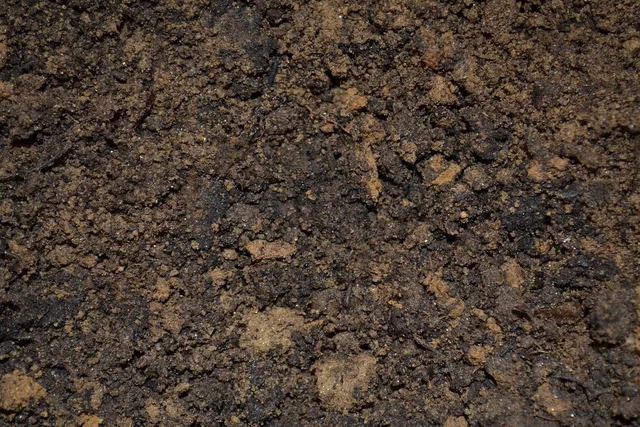
Site preparation is the step people compress and regret. Sod removal, repeated cultivation, sheet covering, and solarization run on different clocks, from a few weeks to a full season. Pick one and give it the time it needs, within this phase only.
Start with a soil test through your state's Cooperative Extension Service office or a commercial lab. The results tell you whether the ground needs amending before planting or is better left alone, since most native plants want less fertility, not more.
Choose a method by the clock, not by the catalog.
- Sod removal:Cut the turf with a flat spade or a rented sod cutter, shake the soil off the roots, and compost the sod or stack it upside down to rot. It is the fastest route to bare ground and the hardest on soil life.
- Repeated cultivation:Till or hoe the top layer, wait for the weeds you turned up to sprout, then cultivate again. Each round kills the next generation before it sets seed, so it takes several rounds.
- Solarization:Mow or scalp what is growing, water the ground until it is moist, stretch clear plastic tight over the bed, and bury the edges to seal it. The sun cooks the top layer of soil, which is why it needs the hottest stretch of the year.
- Sheet covering:Lay cardboard over the turf with the seams overlapped generously so no light shows through, wet it down, then cover it with compost and a mulch layer deep enough that nothing green pushes through. It is the slowest method and the easiest on soil life.
On a small area, cardboard and mulch over the turf is the cheapest option and demands the most patience.
A written plan helps here. The USDA's description of what a conservation plan does is a useful model for a yard: it records objectives and assesses the soil, water, plant and animal issues on that specific piece of land, rather than starting from a catalog.
Month six: plant in the right window
| Region | Usual best window |
|---|---|
| Northeast and Midwest | Early fall, or spring after the ground thaws |
| Southeast | Fall through winter |
| Desert Southwest | Late fall to late winter |
| Pacific Northwest | Fall, ahead of the wet season |
The months in this guide are counted from the day you decide to convert the yard, not from January. Month five is simply the stretch right before your region's window, whenever that falls, so read the table backward from your own planting season and start the slow prep methods early enough to meet it.
Plant into cool soil with rain ahead of it wherever your region allows. Summer planting is possible but converts the project into a watering job.
Installation is fast. A single 40-plant bed takes two people a morning. Most of that morning goes into setting plants out, stepping back, and moving half of them before anything gets dug.
Do the layout with pots still on top of the soil. Check spacing against mature widths one last time. Then plant, water in, mulch, and label the same day.
Months six to thirty: establishment
Year one is watering, weeding and labeling. Year two is less watering, more weeding of the things you now recognize, and the first honest look at what is thriving. Year three is when the bed reads as finished.
Do not expand during year one. Use a small first phase to learn your site, and keep the record described in the main planning guide so the second phase is cheaper than the first.